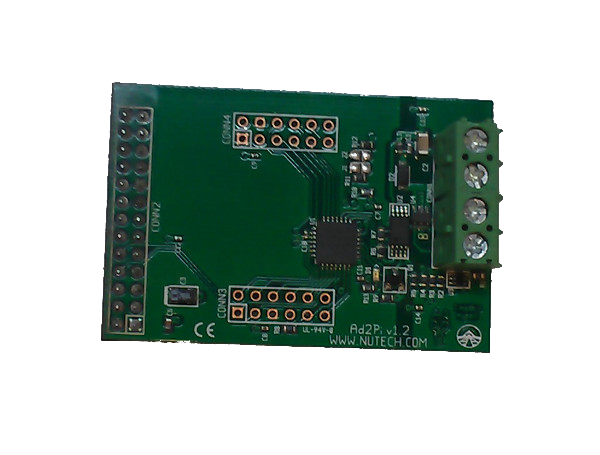
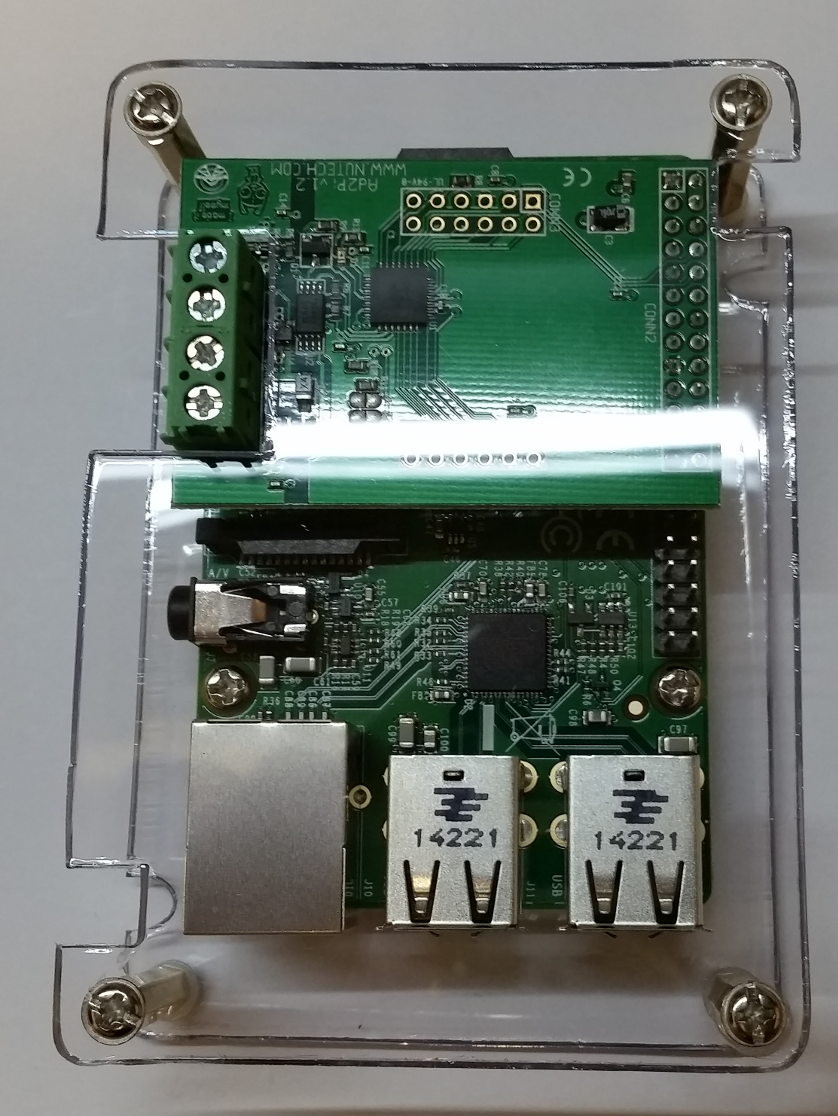
There are several ways to start using your AlarmDecoder with the Raspberry Pi. While you can use all of the AlarmDecoder products with the Raspberry Pi, the AD2PI was specifically designed to interface with it directly. If you're attempting to connect an AD2USB or an AD2SERIAL please follow the standard Linux instructions here.
There are a couple of steps involved with getting your AD2PI and Raspberry Pi talking to each other. We've done all the initial footwork and highly recommend downloading the modified Raspbian image below and flashing it as described here. If you intend to go with another distribution, or just want to do it yourself, then follow the instructions here to start using your device.
Official Raspbian Image
Changes from Raspbian
- Disabled serial console so that the device can use it.
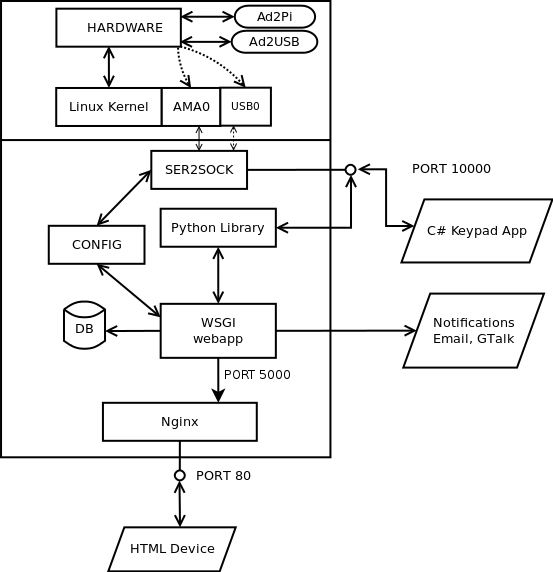
- Installed ser2sock to expose the AlarmDecoder on your network.
- Installed the AlarmDecoder Python library.
- Installed and configured the AlarmDecoder Webapp Instructions.
Download
| Status | Link | Version | MD5 | Includes |
|---|---|---|---|---|
| Stable | Download | 2018-05-29 | zip: 3a001426b1a3a2793bea589cfc93be39 img: c5e50da07e5d084ad76abd591ab605f2 | 2018-05-29 updated AlarmDecoder 1.13.4, AlarmDecoder-webapp 0.8.2, Supports the Raspberry Pi Model B, B+ and B2, and B3. Wifi and Bluetooth are both functional on the Pi 3 |
Manual Configuration
- Flash the SD card with your choice of OS as described here.
- Boot up the Raspberry Pi.
- Remove the following entries from /boot/cmdline.txt:
- console=ttyAMA0,115200
- kgdboc=ttyAMA0,115200
- Remove the following line from /etc/inittab:
- T0:23:respawn:/sbin/getty -L ttyAMA0 115200 vt100
- Sync and halt your Raspberry Pi.
- Attach the AD2PI.
- Boot it up again.
- At this point you should be able to communicate with the device at /dev/ttyAMA0.
- Install any optional software (ser2sock, Python library, etc.)
- Add dev package needed for compiling ser2sock
- sudo apt-get install openssl-dev
- The AlarmDecoder WEB App install instructions are here
- Add dev package needed for compiling ser2sock
Default Passwords
- Passwords should be changed once you get your device!
SSH/Shell
- Login
- pi
- Password
- raspberry
AlarmDecoder WebApp
- Login
- admin
- Password
- alarmdecoder


